Whereabouts - User Guide - V1.1
Jan 2021 Rod Balgarnie
Quick Links
All users
- User Roles
- User Calendar
- Group Calendar
- Department Calendar
- Creating Events
- Modifying Events
- Personal User Groups
- Room Calendars
- Booking a Room
Group admin only
What is Whereabouts
Whereabouts is a personal and department calendar / scheduler system that is used to show where all members of ted staff are on a given day.
In addition it now can be used to manage both ted office spaces such as the conference rooms or the Studio spaces.
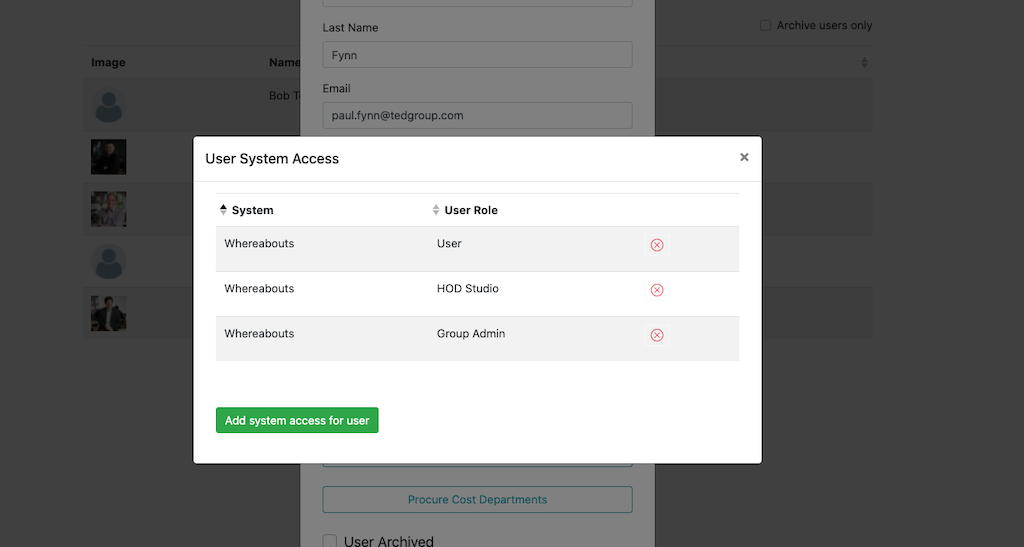
User Roles
To use Whereabouts there are a number of different roles that need to be assigned in tedBase dependent on your job role.
- User - This role is required for any user to access Whereabouts
- HOD department name - Manage all events for any user in their department
- Group Admin - Manage the room bookers , public group userlist, activities, clients and room coniguration
Note: If a user is a HOD then they still require the standard User role in addition to the HOD role. Similarly with group admin access.
Note: Any user in Leadership can add/modify events for any user.
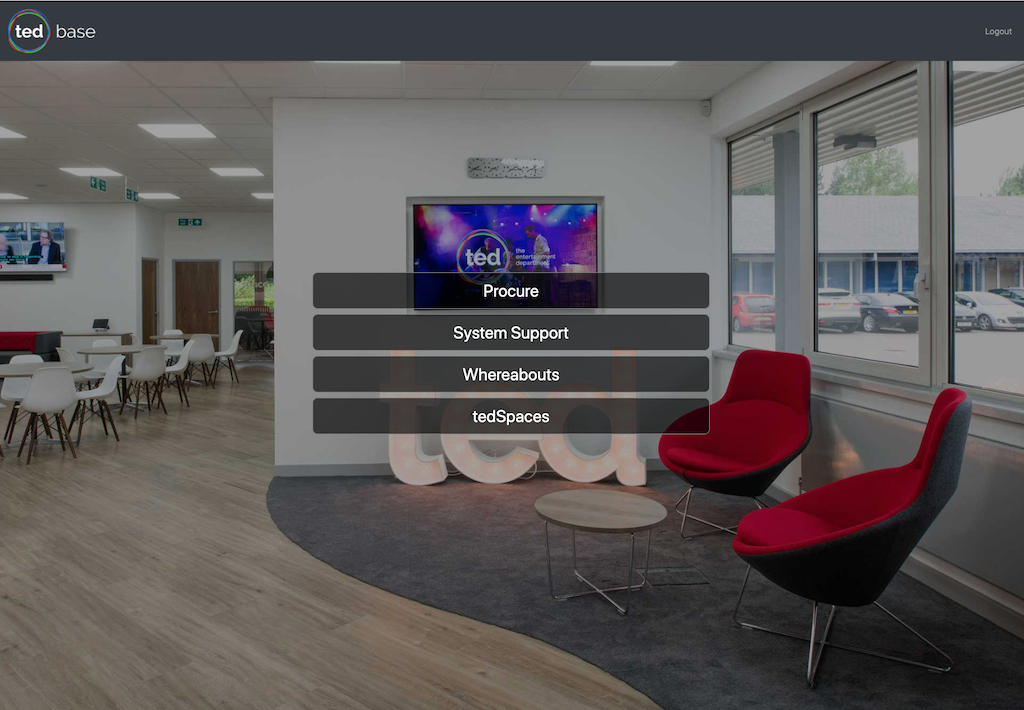
Accessing Whereabouts
Select Whereabouts from your tedBase home system list.
If you do not have Whereabouts in your list then contact a tedBase user admin.
User Calendar
This is your personal calendar for managing your own whereabouts
You can display events by the following views:
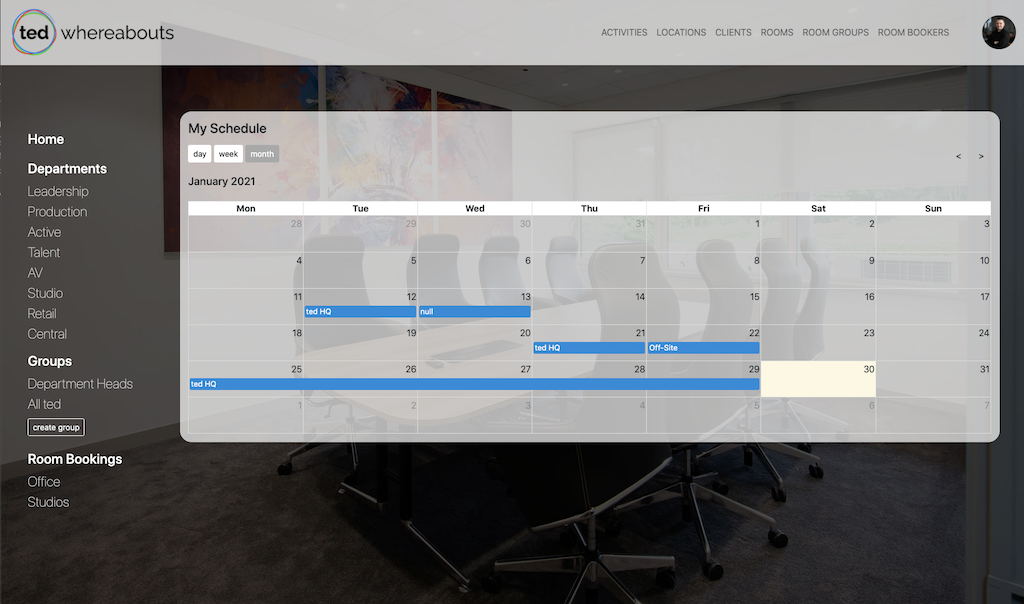
Day View
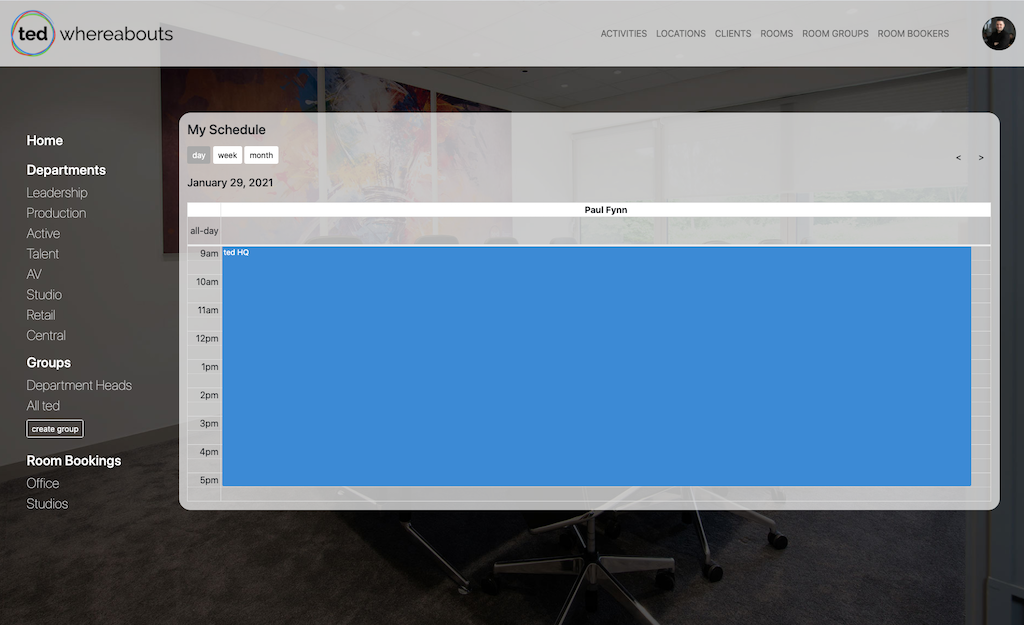
Week View
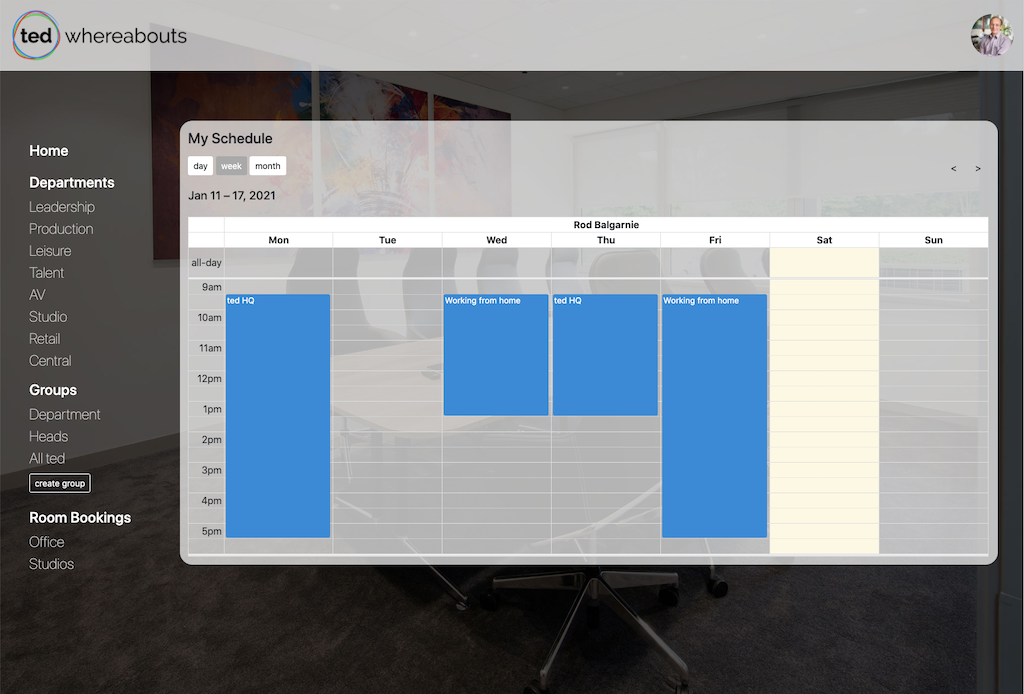
Month View
Adding Events
As a user you only create events for your user, however users with a Whereabouts user role of HOD can create/modify the events of any user in their department.
Events can be created in User, Department or Group Calendars in any of the views by clicking the date/time required.
Note: Any user in Leadership can add/modify events for any user.
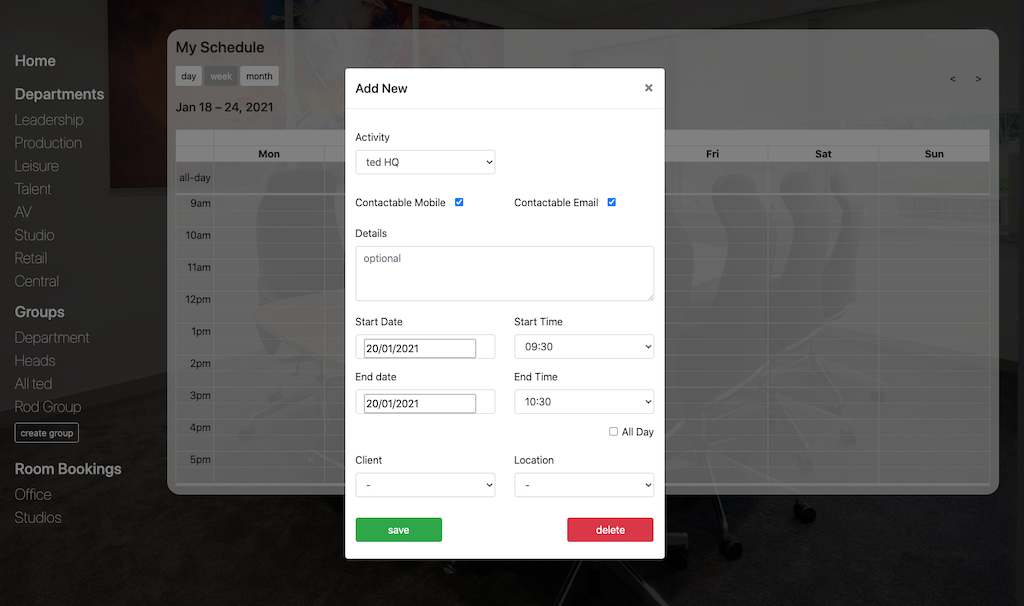
- Activity - Select from the list eg: Ted HQ or Working from home
- Contactable Mobile - Unselect if you do want to receive mobile calls during this period
- Contactable Email - Unselect if you will be unable to check emails during this period
- Details - Optional details on the event visible to all users
- Start / End Date and time - Time period for the event
- All Day - Select to set the start time to 9:30am and end time to 5:30pm
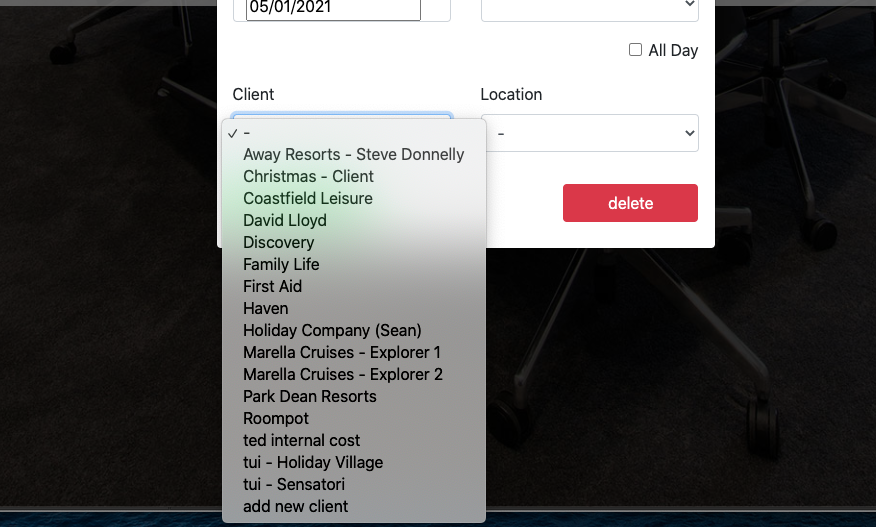
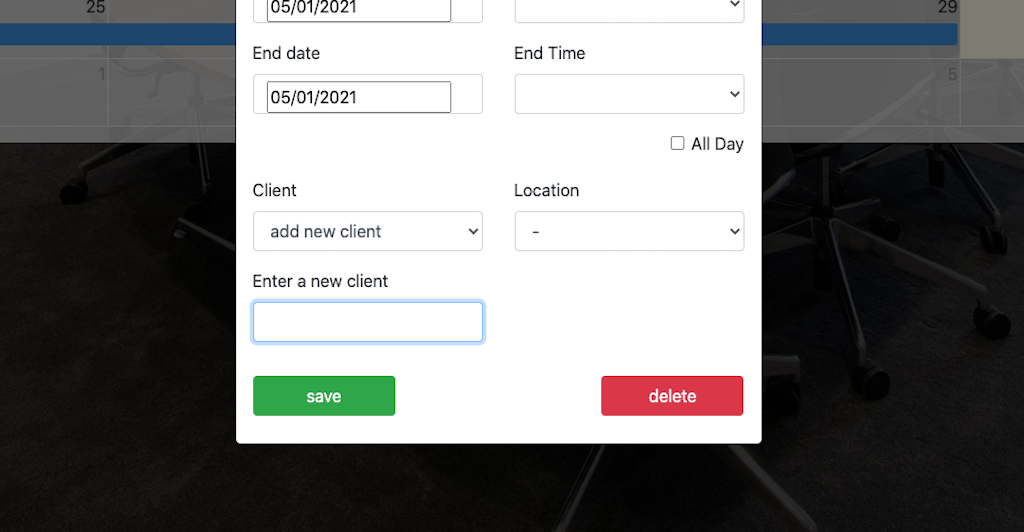
- Client - Optionally select the client the event is at
- Location - Optionally select the client location the event is at
Note: New clients and client locations can be created by any user by selecting the 'add new client' or 'add new location' from the client and location drop downs.
Modifying Events
If you need to change an existing event then there are a number of ways this can be done:
- Click the event in the calendar and make changes in the event view popup
- Drag and drop the event in the calendar view to move event in day or to another day
- Drag the bottom of the event to adjust the event end time in the calendar view
Events can be modified in User, Department or Group Calendars in any of the views.
Note: Any user in Leadership can add/modify events for any user.
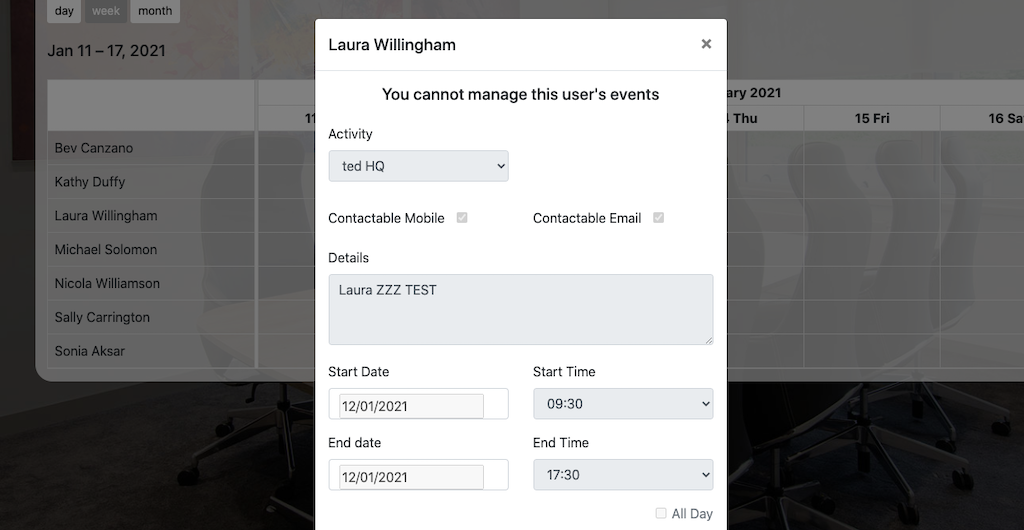
If you see the following popup then you cannot edit that user's calendar:
Deleting Events
To delete an exisitng event click 'delete' in the event edit popup.
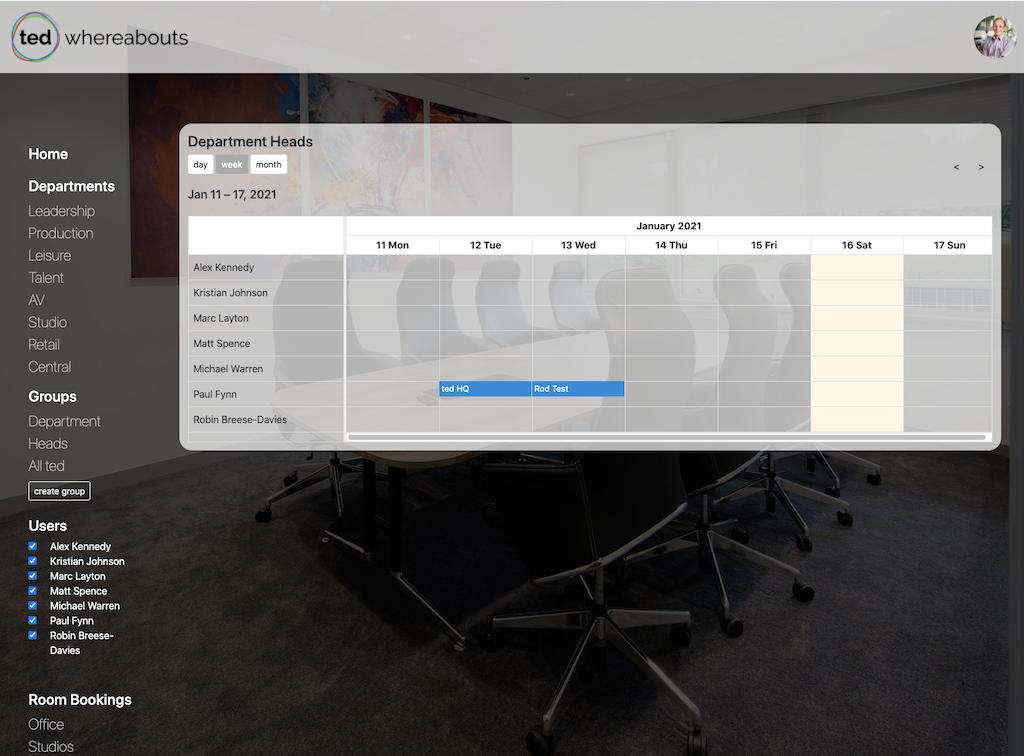
Department Calendar
By selecting any of the ted departments from the menu then you can see a whole departments whereabouts.
If you have the HOD role for that department then you can manage any events for any user in that department otherwise you can only manage your own events.
Filtering the user list - By checking/unchecking user names in the user list in the menu then you can control which users are shown in main department calendar.

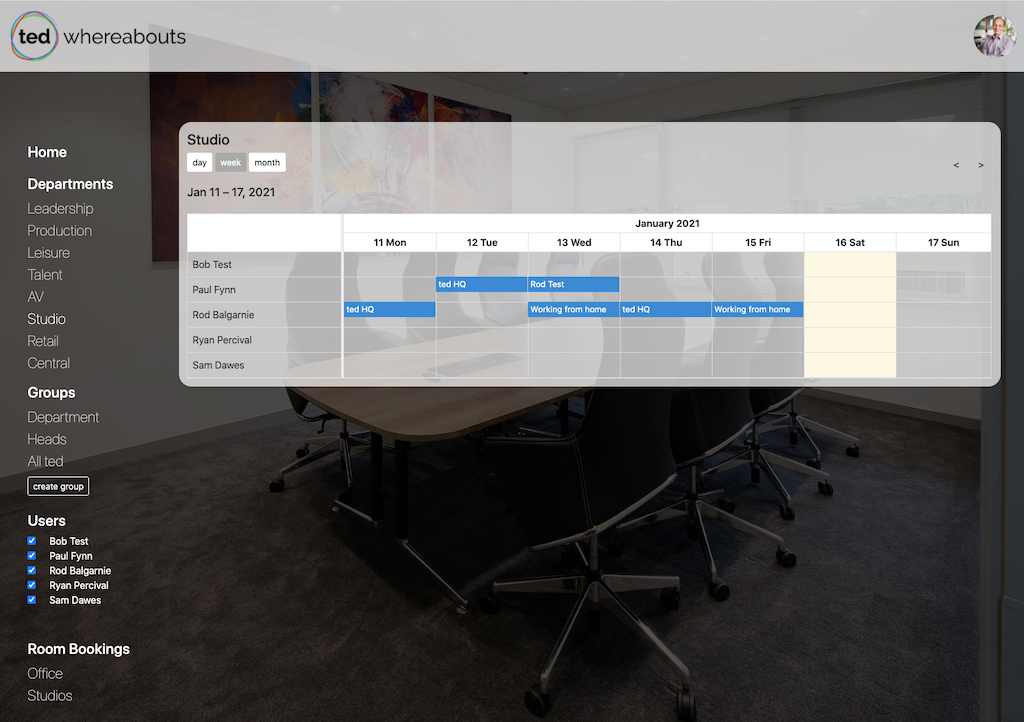
Group Calendar
The group calendar allows the display of custom calendar of different users from any department. eg: All Ted for all staff
Any user can create their own personal groups and if you are a Group Admin then you can manage any of the public groups shown to all users
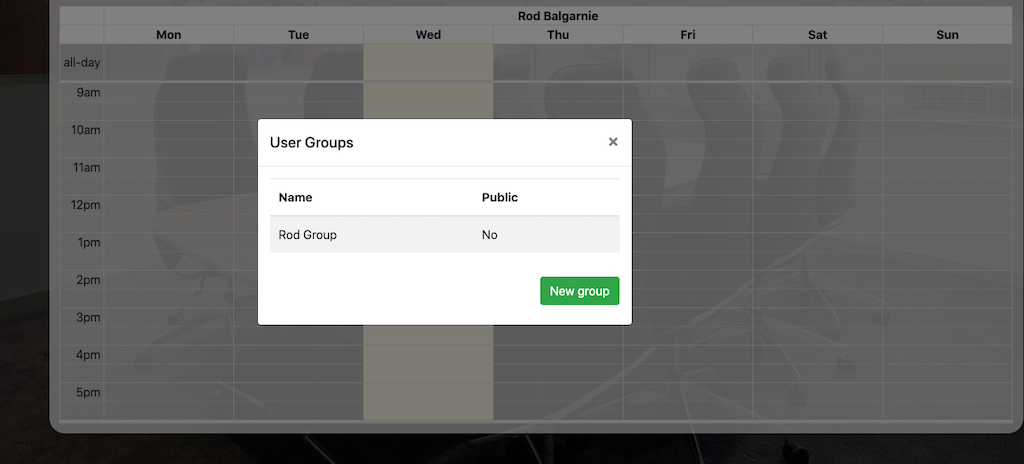
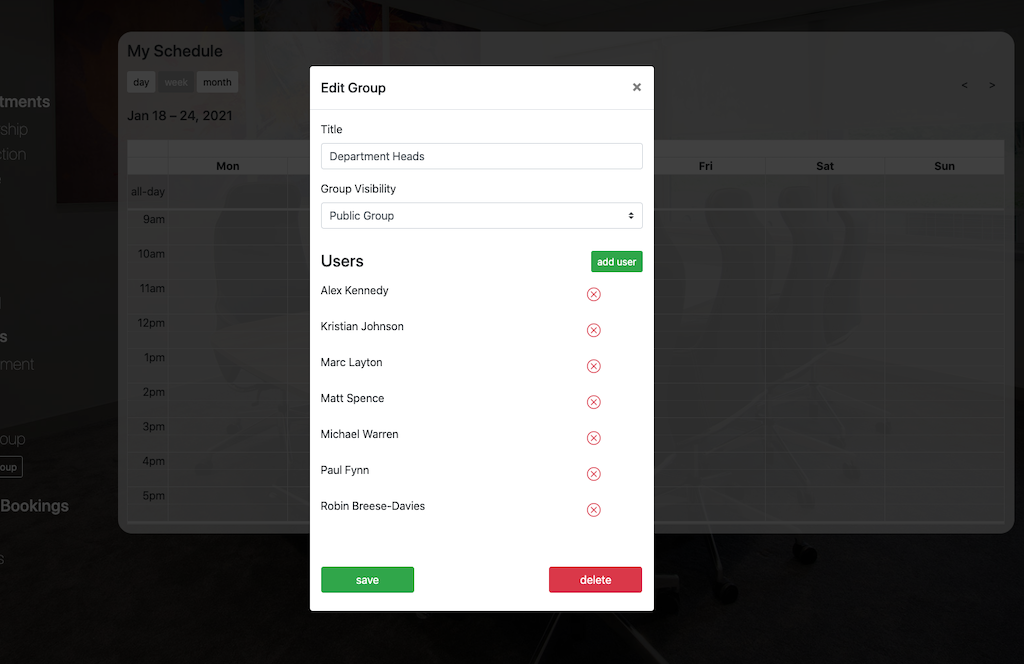
Managing your personal groups
Personal groups allow you to create groups of users from any department to show together in the same calendar view.
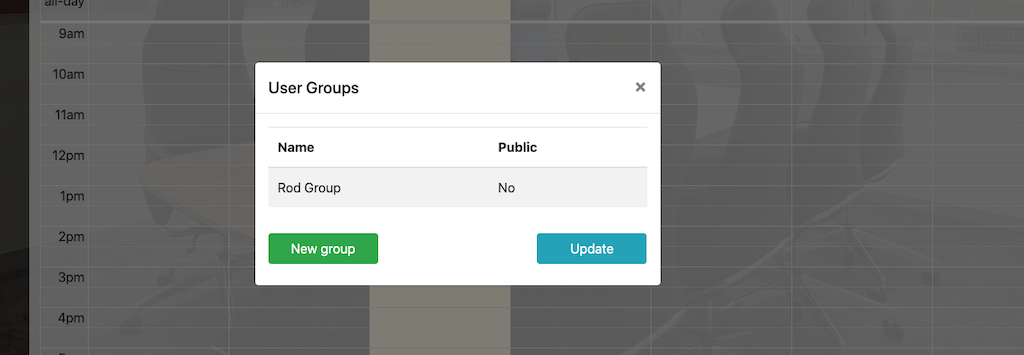
Select 'Create Group' from the menu and either select a current group to edit it or select 'New Group' to create a new group.
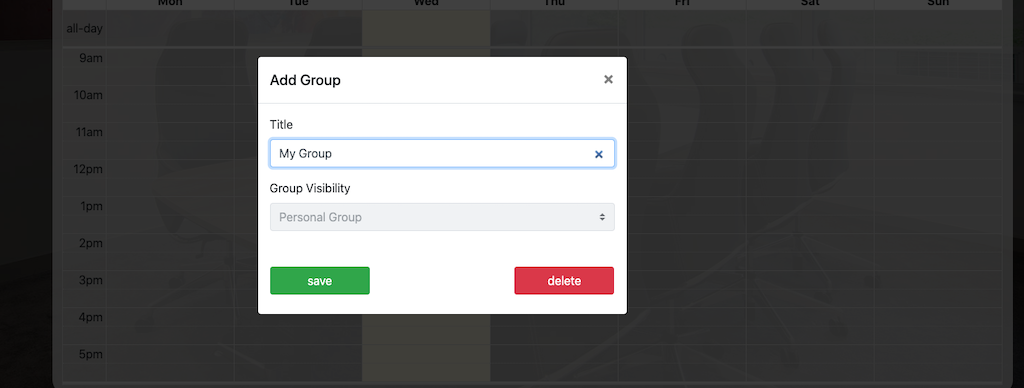
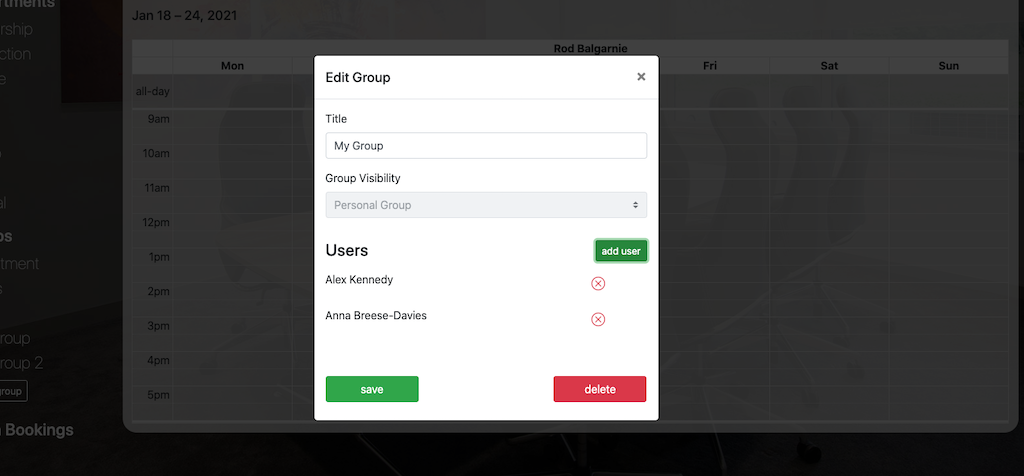
Enter the display name for your group and select save
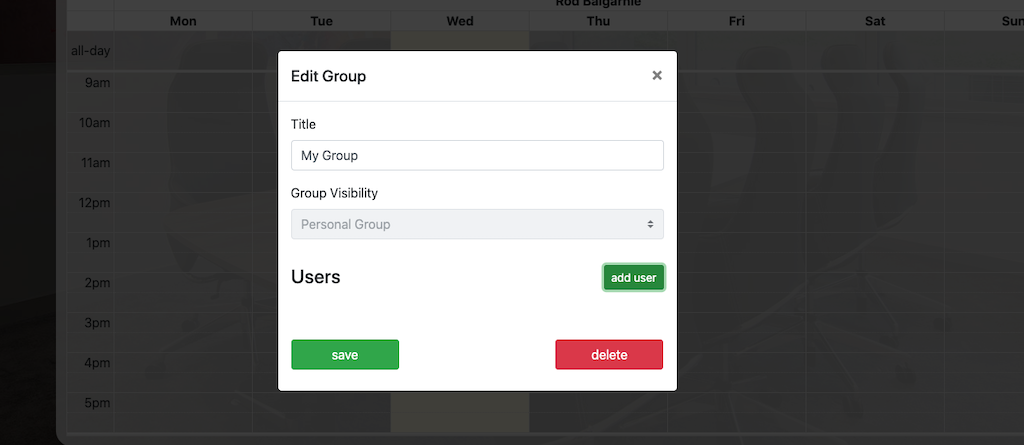
Once the group is created then select it from the list and you can now add users to this group by using the 'Add User' button.
Add a user by selecting their name from the userlist and repeat to add all the users you require.
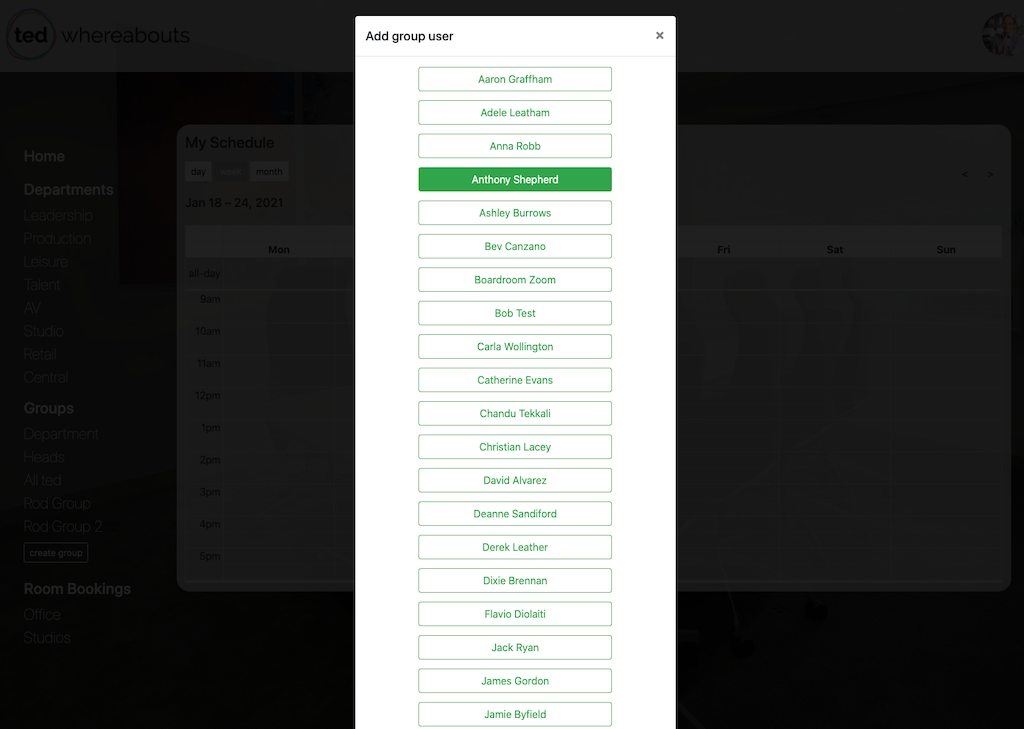
To remove a user from your group select  against the user
If you have made any changes to your groups then select 'Update' to refresh the groups list on Whereabouts
Managing public groups
Public groups are groups that are seen by all users on Whereabouts and require the user to have 'Group Admin' role assigned.
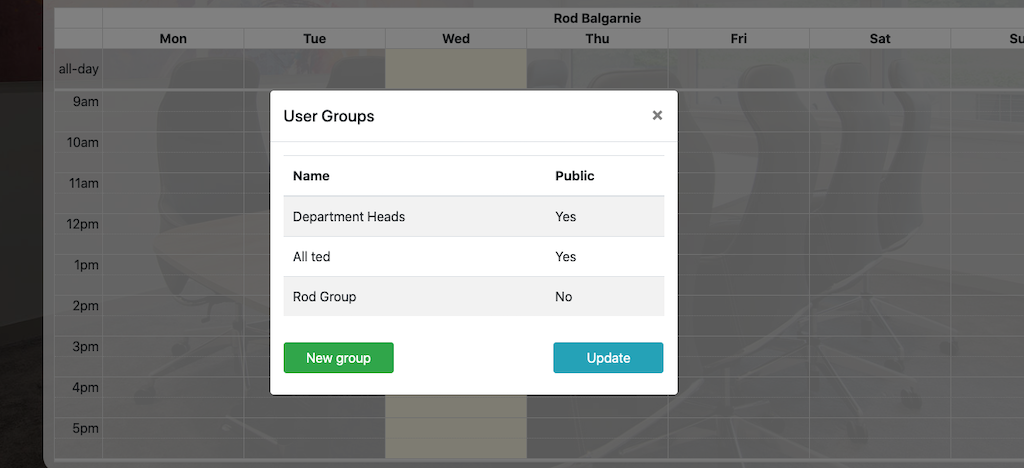
When managing a public group please ensure the 'Group Visibility' is always set to public.
Adding / removing users for a public group
This follows the same procedure as above for managing users in a personal group.
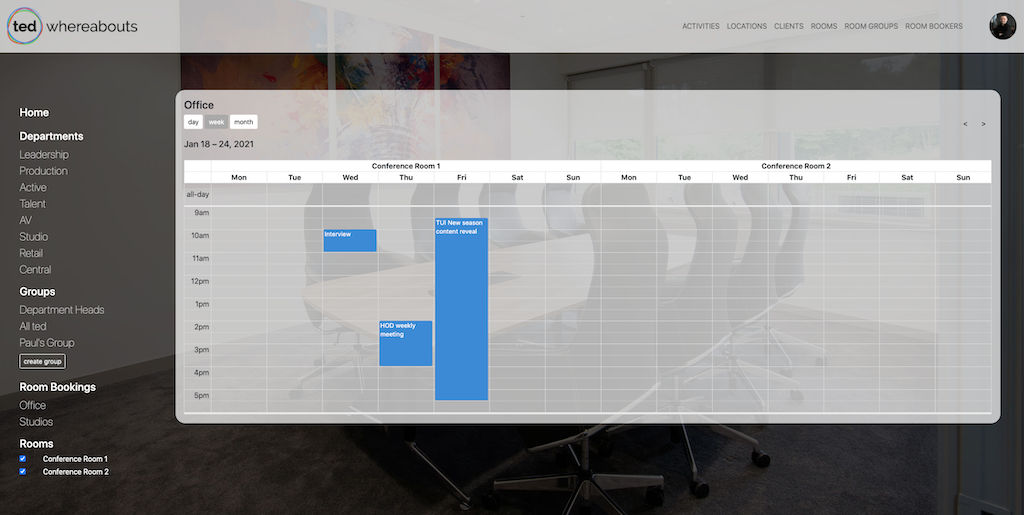
Rooms Calendar
This new feature for Whereabouts allowing the booking of both Studio and Office spaces by any user that has been added as a Room Booker for that particular room.
Office Rooms
- Conference Room 1
- Conference Room 2
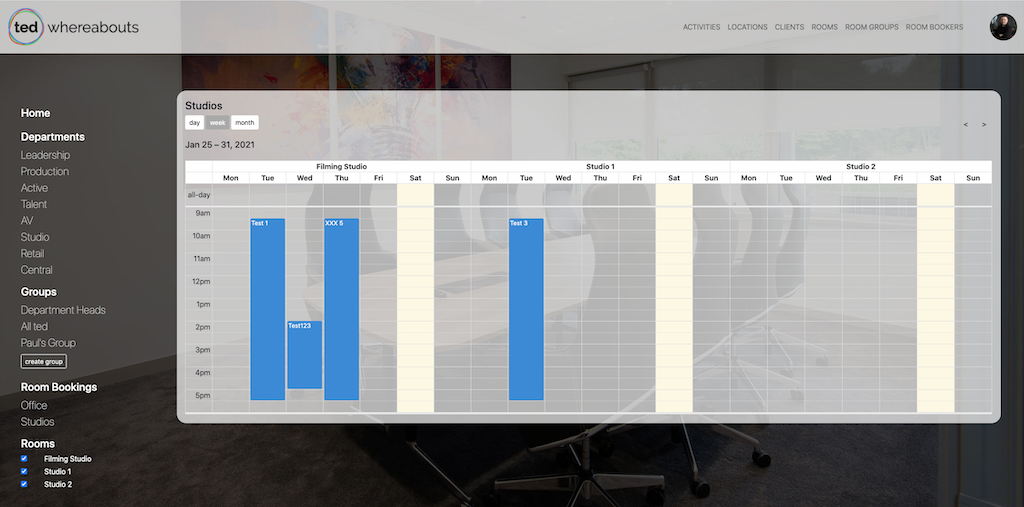
Studios
- Studio 1
- Studio 2
- Filming Studio
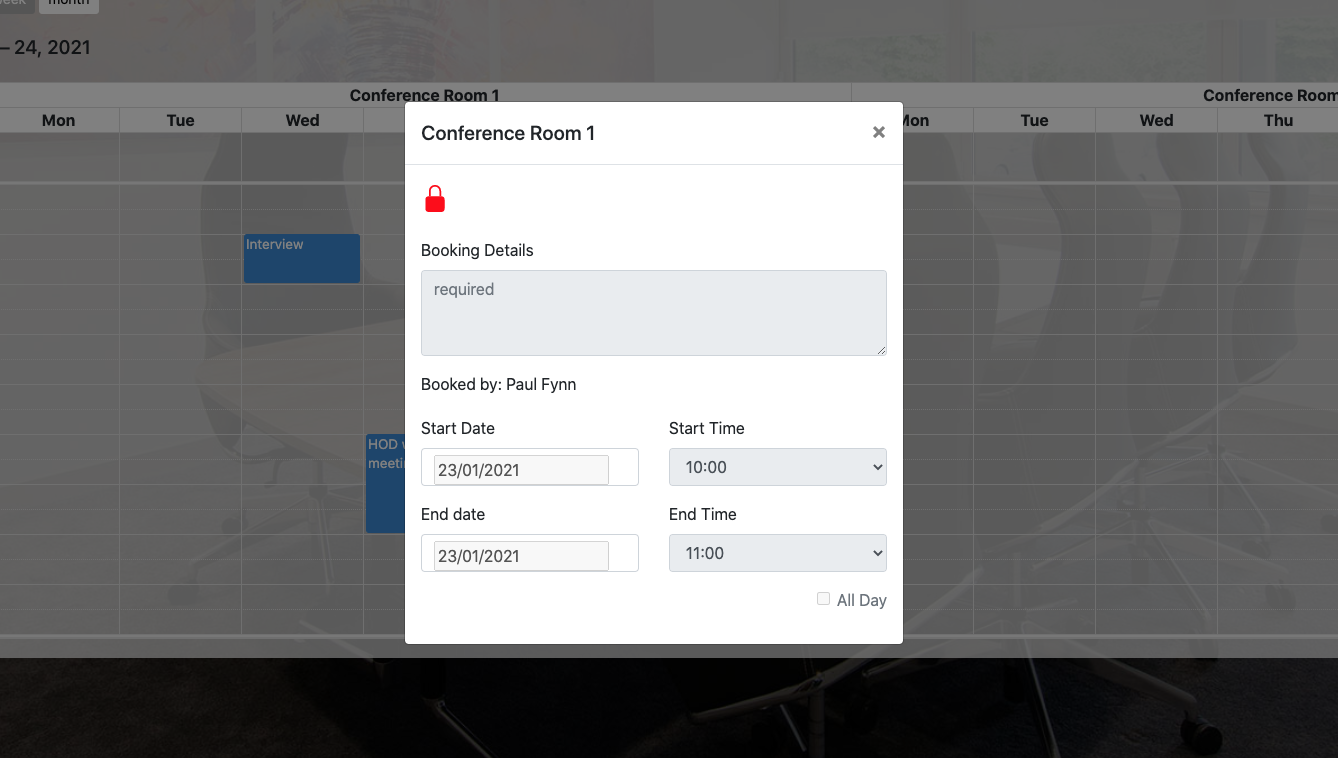
Adding Room Events
To add a new event for a room then click on the time/date required in the calendar and complete the booking popup.
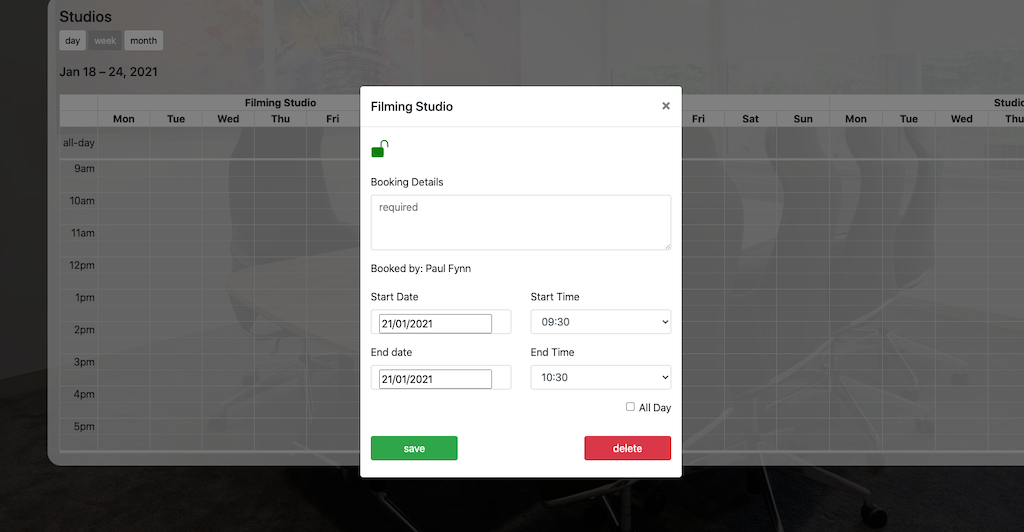
- Booking Details - Enter the details of the booking (see note below on visibility)
- Start / End Date and time - Time period for the event
- All Day - Select to set the start time to 9:30am and end time to 5:30pm
Note: The details of any booking are visible to ALL Whereabouts users which should be taken in consideration when entering the details of a booking.
If you are not a Room Booker for the selected room then you will see a red padlock and the booking form is greyed out. To be added as a Room Booker then contact a Whereabouts Group Admin for access.
Managing Room Bookers - Group Admin only
If you are a Whereabouts Group Admin then you are able to manage the Room Bookers by selecting from the main menu.
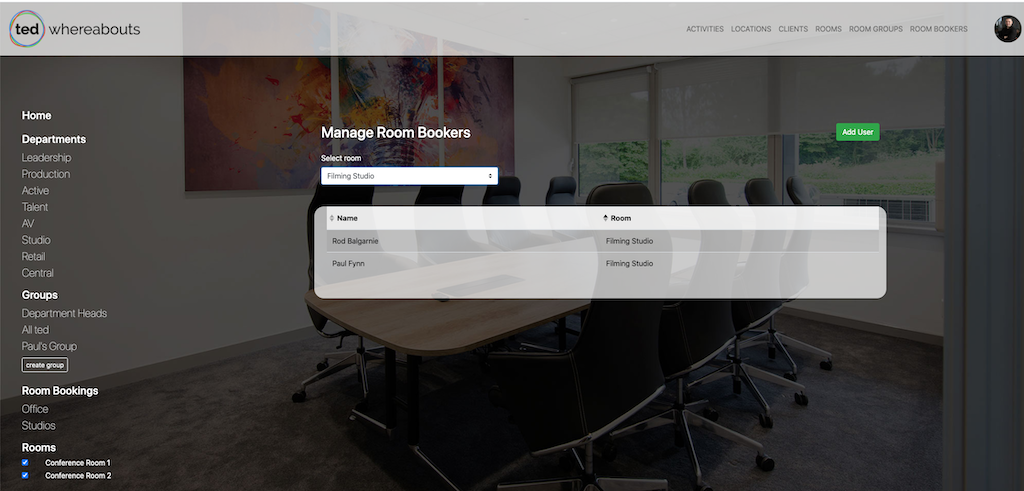
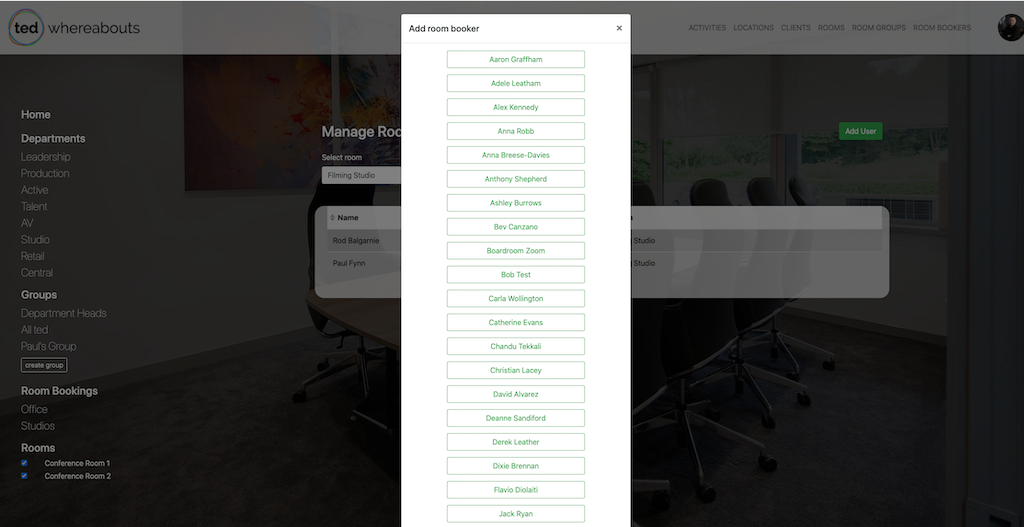
Adding Room Bookers
Select 'Add User' and then select the user from the user popup list.
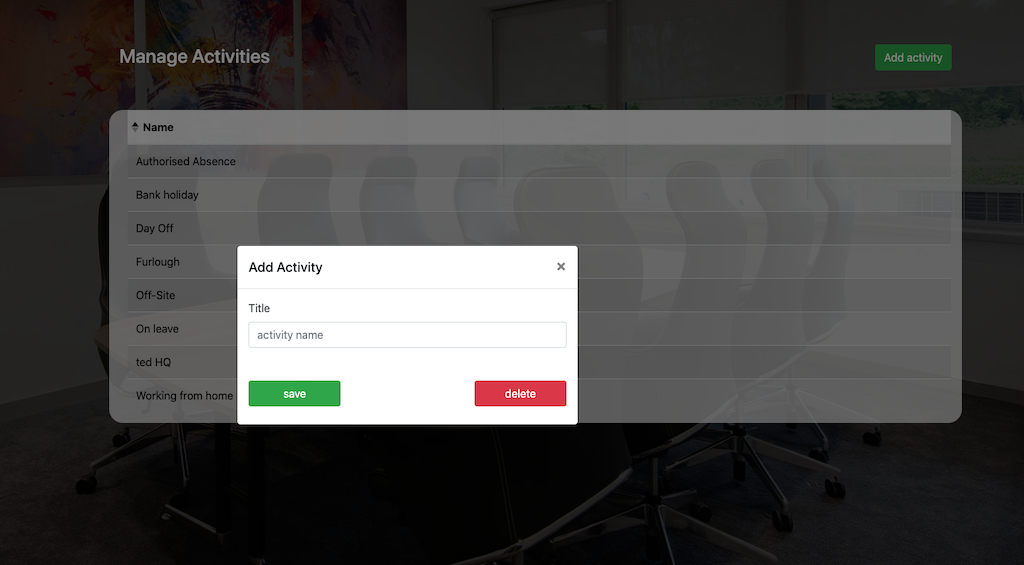
Managing Activities - Group Admin only
This allows you to change the list of event activities shown when making a event booking.
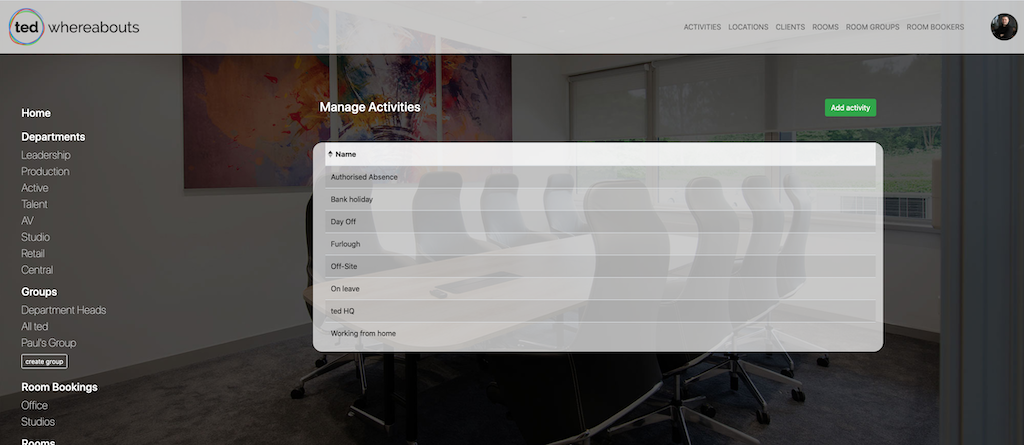
Adding Activities
Click the 'Add Activity' button and complete the new activity popup.
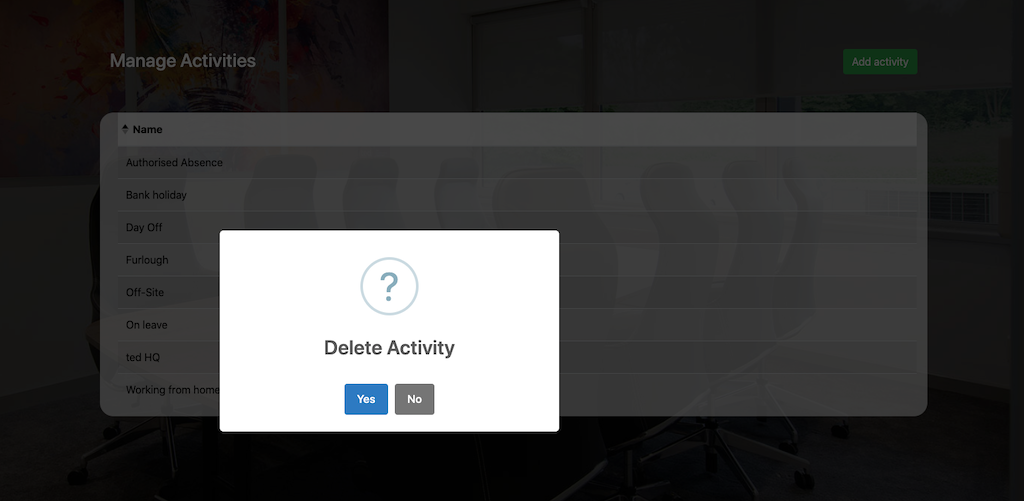
Deleting Activities
Select the activity from the list, select delete and then confirm in popup.
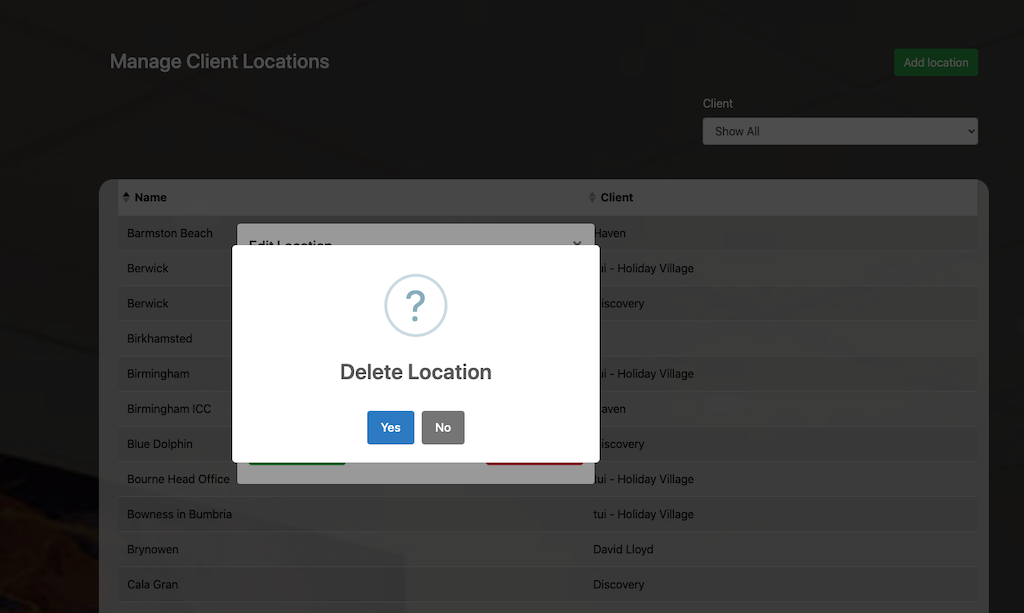
Managing Client Locations - Group Admin only
This allows you to change the list of event client locations shown when making a event booking.
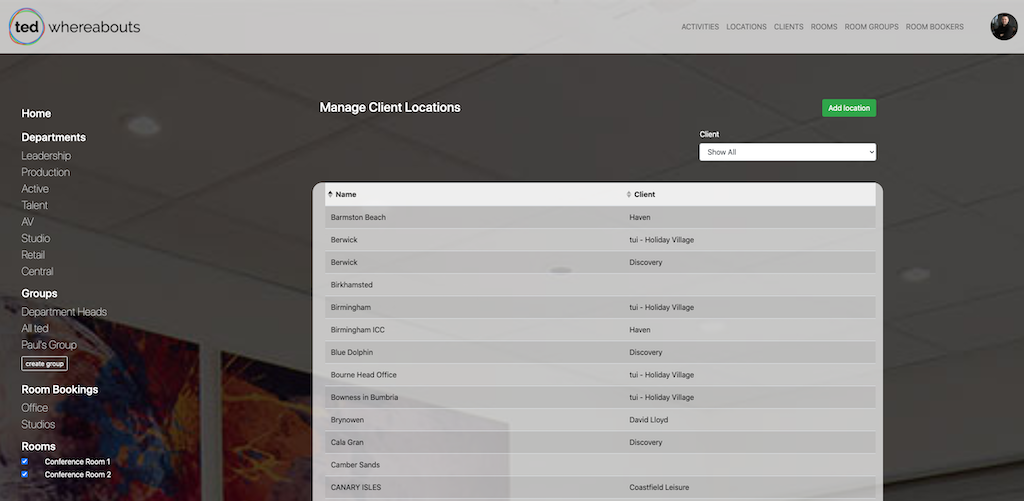
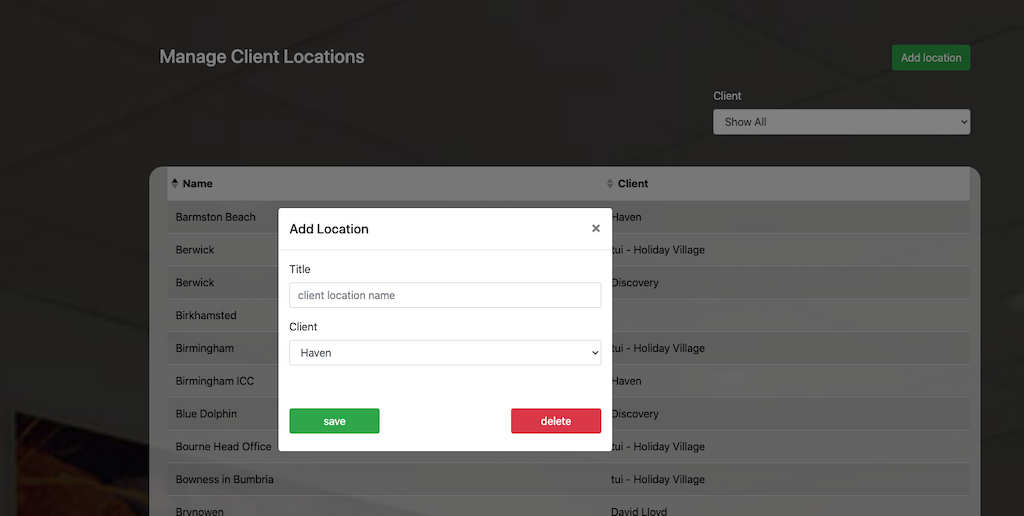
Adding Locations
Click the 'Add Location' button and complete the new client location popup.
Deleting Client Locations
Select the location from the list, select delete and then confirm in popup.
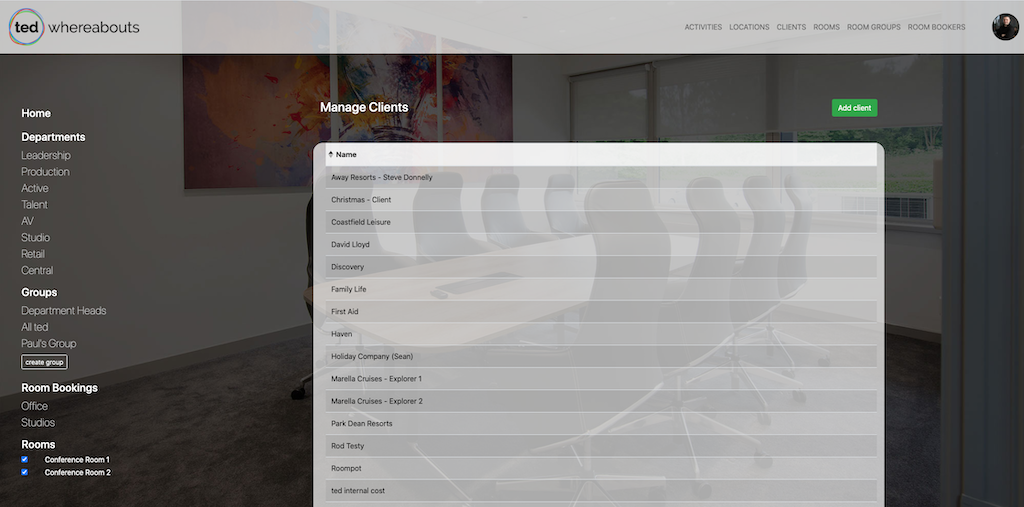
Managing Clients - Group Admin only
This allows you to change the list of event clients shown when making a event booking.
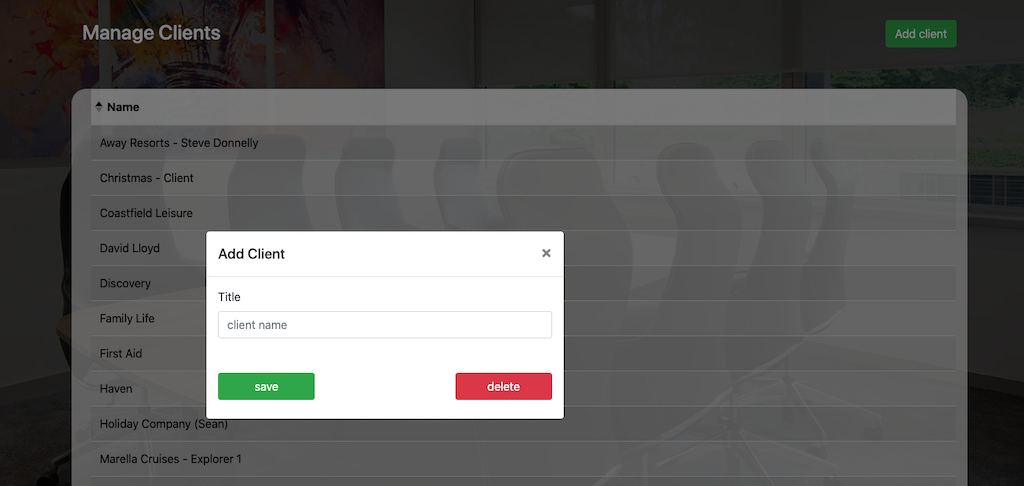
Adding Clients
Click the 'Add Client' button and complete the new client popup.
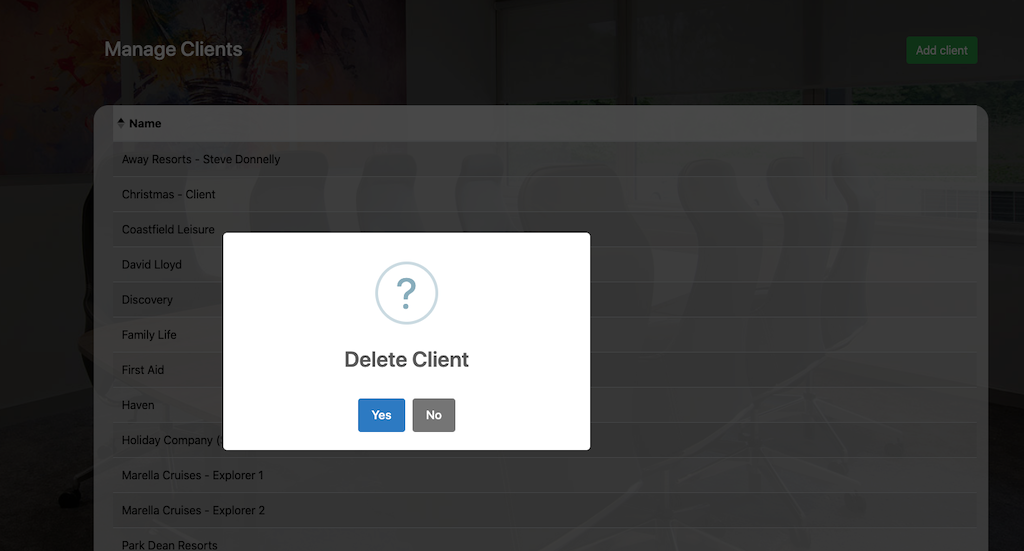
Deleting Clients
Select the client from the list, select delete and then confirm in popup.
Managing Rooms - Group Admin only
This allows you to change the list of rooms shown in Whereabouts.
Note: All rooms must be in a Room Group.
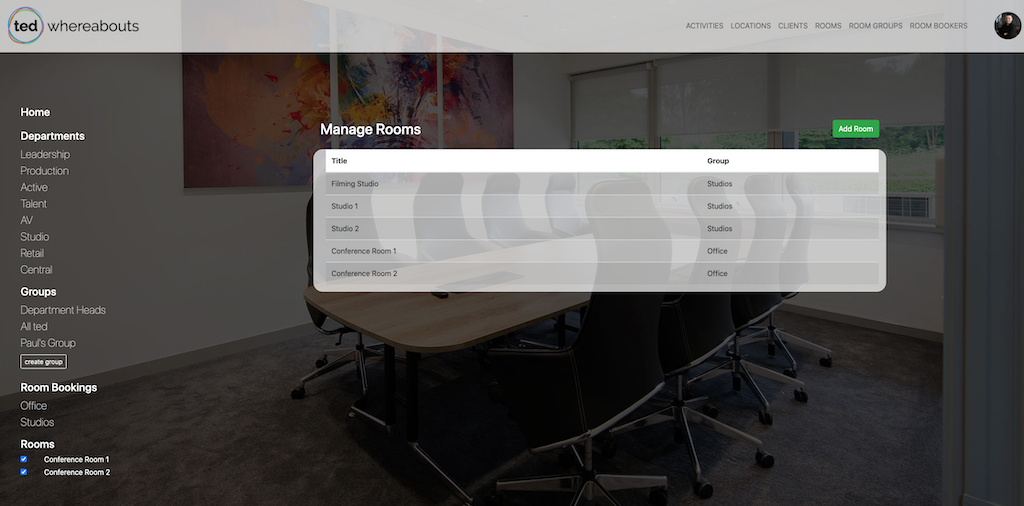
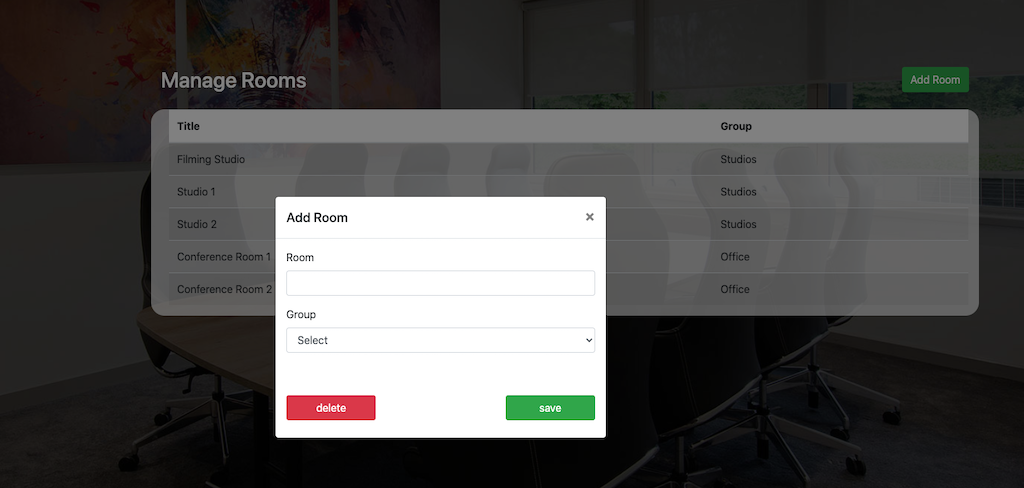
Adding Rooms
Click the 'Add Room' button and complete the new room popup.
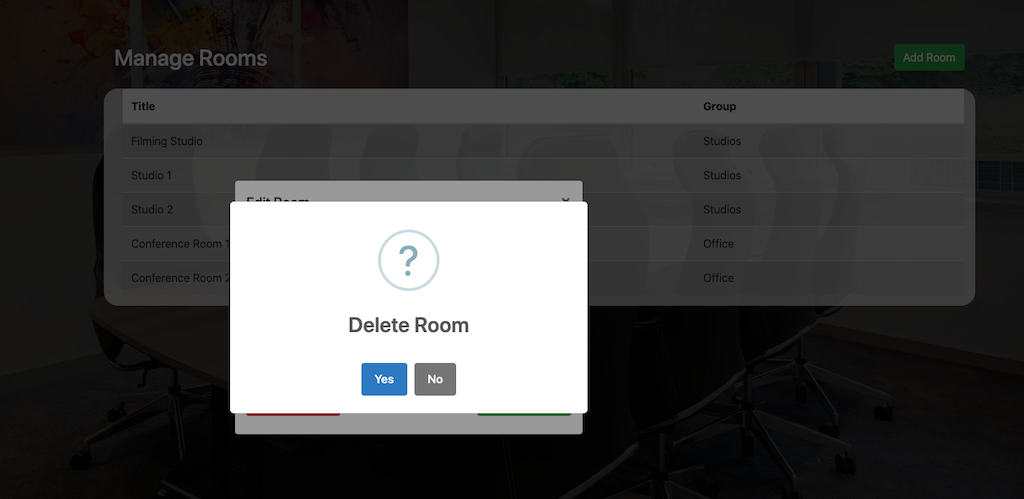
Deleting Rooms
Select the room from the list, select delete and then confirm in popup.
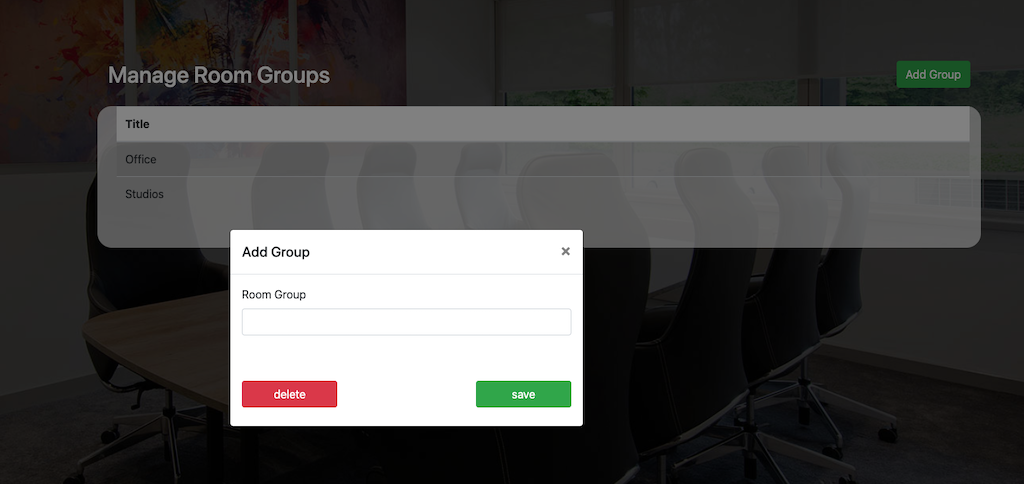
Managing Room Groups - Group Admin only
This allows you to change the list of room groups shown in Whereabouts.

Adding Room Groups
Click the 'Add Room Group' button and complete the new room group popup.
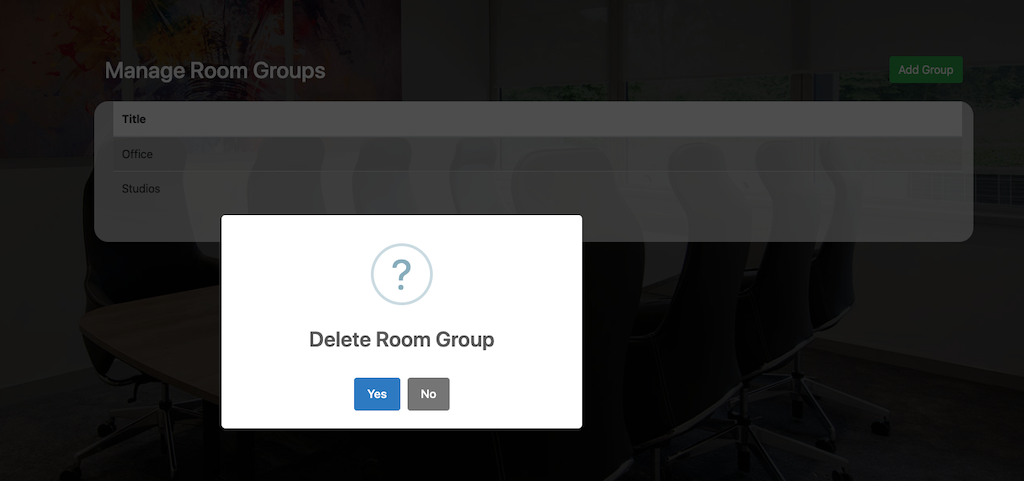
Deleting Room Group
Select the room group from the list, select delete and then confirm in popup.